Deploying Agents
RunAgents deploys your AI agent from source code in three steps: Upload, Wire, and Deploy. The platform analyzes your code, detects external dependencies (tool calls, LLM usage, secrets), and lets you map them to registered platform resources before going live.
Navigate to Agents in the sidebar, then click + New Agent to open the deploy wizard.
Two good starting paths
RunAgents supports two useful ways to get to a running agent:
- Hello World for the fastest possible first deploy with no external dependencies
- Agent Catalog for a more production-shaped starting point with real tools, policy, approval, and OAuth considerations
If you want the second path, start with Agent Catalog. The Google Workspace assistant is a strong example of a catalog agent that exercises real platform behavior.
How Deployment Works
When you deploy an agent, the platform decides how to run it based on your code:
Tier 1: Platform Runtime
If your code has no custom handler function or framework imports, the platform uses its pre-built runtime image. No container build is needed -- deployment is instant.
The runtime provides a built-in tool-calling loop: it sends your system prompt and user messages to the LLM along with tool definitions generated from your Tool CRDs, executes any tool calls the LLM makes, and returns the final response.
Best for: Simple agents, quick demos, agents that only need LLM + tool access.
Tier 2: Custom Code
If your code contains a handler() function, uses a framework like LangChain or LangGraph, or has custom pip dependencies, the platform builds a container image with your code via the build pipeline.
Your custom code runs inside the same runtime, with all platform env vars injected. The runtime discovers your handler or framework objects automatically.
Best for: Complex agents, custom logic, framework-based workflows.
Automatic detection
The platform detects your tier automatically during analysis. You don't need to configure anything. See Agent Runtime for the full list of detected patterns and Writing Agents for complete examples.
Step 1: Upload
Upload your agent's source code files. The platform accepts Python, TypeScript, JavaScript, and other common languages.
You have two options:
- Drag and drop your source files (or click to browse)
- Try a Sample -- loads the built-in Hello World agent, which uses the platform's starter echo tool and playground model provider
What happens during analysis
After uploading, the platform automatically analyzes your code and detects:
- Tool calls -- outbound HTTP requests to external APIs (e.g., Stripe, GitHub, Slack)
- LLM usage -- calls to language model APIs (OpenAI, Anthropic, Bedrock, etc.) with model names and roles
- Secrets -- hardcoded API keys or credentials that should be moved to secure storage
- Outbound destinations -- all external hosts your agent communicates with
- Required packages -- pip requirements, npm dependencies, etc.
- Entry point -- the main file to run
Analysis takes a few seconds. You will see a progress indicator as it moves through parsing, detection, scanning, and enrichment phases. Once complete, you advance to the Wire step automatically.
Step 2: Wire for Production
The Wire step presents everything the analysis found and lets you map each detected dependency to a registered platform resource.
Tools
Each detected tool call is shown as a card with:
- The detected tool name and base URL from your code
- A dropdown to select a registered tool on the platform
- A Register new link if the tool does not exist yet (opens the tool registration form in a new tab)
When you select a matching tool, the card shows a green checkmark. All detected tools must be wired before you can deploy.
Register tools inline
Click Register new to open the tool registration page in a new tab. When you return to the deploy wizard, the tool list refreshes automatically -- no need to reload.
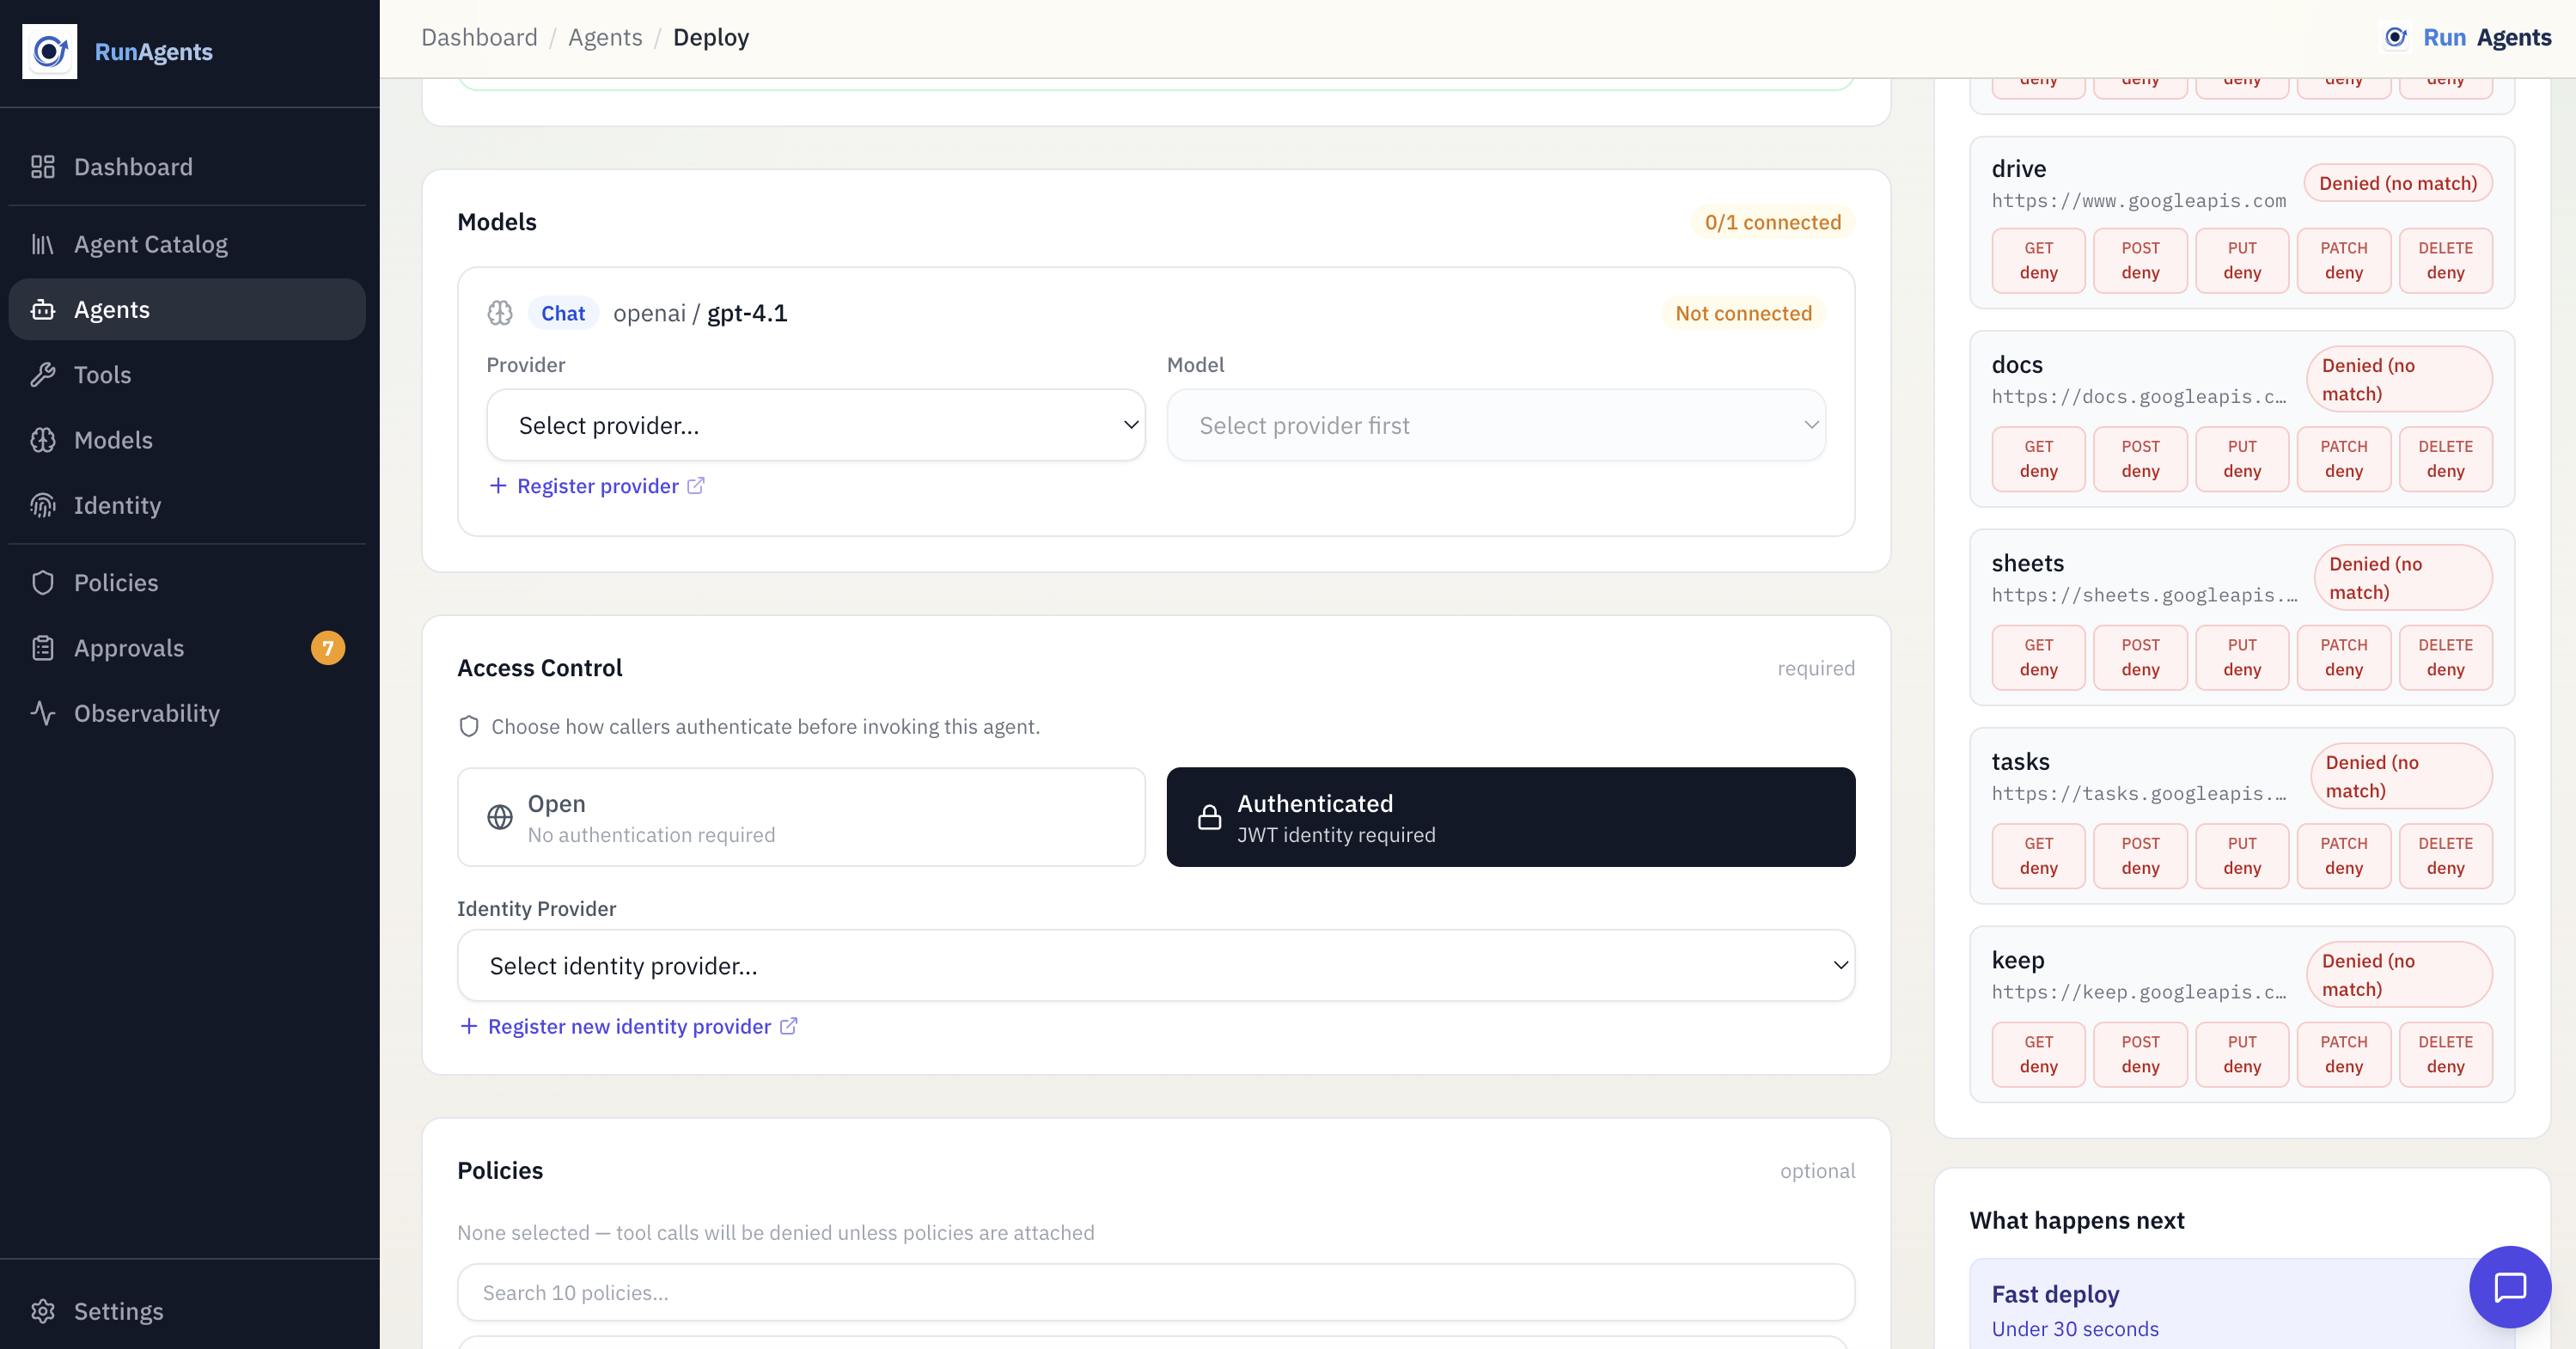
Models
Each detected LLM usage is shown as a card with:
- The detected provider, model name, and role (e.g.,
chat,embedding) - A dropdown to select a registered model provider
- A model selector for choosing the specific model from that provider
Policies
Select one or more existing policies to bind to the deployed agent. These bindings govern tool-call authorization at runtime.
Policy-driven runtime
Access decisions are computed from bound policy rules (allow, deny, approval_required) plus capability checks.
Client Authentication
Optionally configure how clients authenticate to your agent:
- Open -- any client can call the agent (no authentication required)
- Authenticated -- requires a JWT from a registered identity provider. Select which identity provider to use.
Agent Identity
Configure the agent's metadata:
| Field | Description |
|---|---|
| Agent name | A unique identifier for this agent (required) |
| System prompt | Initial instructions for the agent's LLM context (auto-populated from analysis if detected) |
A wiring progress bar at the top of the page tracks how many items are fully wired. When all required items show green checkmarks and the agent name is set, the Deploy button becomes active.
Step 3: Deploy
The final step shows a deployment summary with all your configuration choices:
- Agent name
- Source image (built from source or a custom pre-built image)
- System prompt
- Wired tools and model providers
- Identity provider (if configured)
- Selected policies
Review the summary, then click Deploy Now.
The platform:
- Builds a container image from your source code (if not using a custom image)
- Creates the agent with configured tool and model mappings
- Creates PolicyBindings for selected policies
- Starts the agent
A progress animation shows the build and deploy phases. When deployment succeeds, you see a success screen with:
- A summary of what was deployed
- View Agent -- navigates to the agent detail page
- Deploy Another -- starts a fresh deploy wizard
Build pipeline
If the build service is not configured on your platform instance, you can still deploy by providing a pre-built container image. Toggle Use custom image in the Wire step and enter your image URL.
Hello World Quick Start
The fastest way to deploy your first agent is the Hello World flow:
- From the Dashboard, click Deploy Hello World Agent (or go to Agents > + New Agent and click Try a Sample)
- The platform seeds the starter kit (echo tool + playground model provider) and loads sample code
- Analysis runs automatically -- all tools and models are pre-wired with green checkmarks
- Agent name is pre-filled as
hello-world - Review the wiring and click Deploy
The sample agent does two things:
# 1. Calls the built-in echo tool
echo_result = call_echo_tool("Hello from my first agent!")

# 2. Asks the LLM a question via the gateway
answer = ask_llm("Summarize what RunAgents does in one sentence.")
No external API keys or accounts are needed.
Deploy from the agent catalog
If you want to start from a more realistic workflow, deploy a catalog agent instead of the sample.
Catalog agents are maintained blueprints that combine:
- real tool contracts
- recommended model defaults
- operational guidance
- policy, approval, and OAuth expectations
One strong example is the Google Workspace assistant, which brings together:
- Gmail
- Calendar
- Drive
- Docs
- Sheets
- Tasks
- Keep
This is a better starting point when you want to validate governed writes, delegated-user OAuth, and approval workflows end to end.
Deploy Drafts
The deploy wizard automatically saves your progress as a draft. If you close the browser or navigate away, your work is preserved.
- Recent Drafts appear at the top of the Upload step, showing the agent name, last step reached, and when it was saved
- Click a draft to resume exactly where you left off
- Drafts are updated automatically as you change wiring, agent name, or other settings
- When you go back to the Upload step and upload new files, the existing draft is updated with the new analysis (no orphan drafts)
Tip
Drafts are saved per-user. Other team members cannot see your in-progress deployments.
Agent Detail Page
After deployment, navigate to Agents and click on an agent to view its detail page. The detail page has four tabs:
Overview Tab
Shows the agent's current configuration:
- Status -- current phase (Pending, Running, or Failed)
- System prompt -- the configured system prompt
- Wired tools -- list of tools the agent has access to
- Model configuration -- the LLM provider and model being used
- Identity provider -- if authentication is configured
Playground Tab
An interactive chat interface for testing your agent directly in the browser.
- Type a message and the agent responds in real-time via streaming (SSE)
- Tool call cards appear inline, showing which tools the agent called and their results
- Each playground session creates a run -- visible in the Runs tab with full event history
- A View run link appears in the header after the first response, linking to the run detail page
- Click Clear to end the current run and start a fresh session
The playground is available once the agent status is Running.
Runs Tab
Lists all runs for this agent, including runs created from the playground. Each run shows:
- Run ID and status
- User identity (who triggered the run)
- Initial message (first user message in the conversation)
- Timestamp
- Click a run to view the Run Detail page with a full event timeline and approval actions
Flow Tab
A visual, animated graph of your agent's topology and execution history. The Flow tab has two views, toggled at the top:
Topology View
Shows a center-radial diagram of everything your agent connects to:
- Agent node (center) -- the agent name and current status
- LLM nodes (top) -- one node per model role. If your agent uses multiple models (e.g., a planner and a summarizer), each appears as a separate node showing the provider and model name
- Tool nodes (right) -- each required tool with its auth type (OAuth2, API Key, or None), access mode (Open, Restricted, or Critical), and capability count
- Client node (left) -- appears only if an identity provider is configured, showing the JWT validation source
Edges between nodes are animated SVG paths that draw themselves on tab open, then show a flowing dash animation to represent data flow. Each tool edge includes:
- A policy badge at the midpoint showing the effective access decision (Allow, Deny, Approval Required, or No Policy) based on your configured policies
- An approval gate (pulsing amber diamond) on tools where
approval_requiredpolicy rules match
Agent-as-tool
If one of your agent's required tools is actually another deployed agent, the Flow tab renders it as an agent node (indigo, with a bot icon) instead of a tool node. Clicking it navigates to that agent's Flow tab, letting you trace multi-agent orchestration graphs.
Edge cases handled:
| Scenario | Behavior |
|---|---|
| No tools configured | Shows "No tools configured" note |
| No LLM configured | Shows warning; omits LLM node |
| No identity provider | Omits client node |
| 7+ tools | Tighter spacing |
| 10+ tools | Shows first 8, then "+N more" |
| No policies | Gray "No policy" badges on all edges |
Execution Trace View
Select a run from the dropdown to see an animated timeline of everything that happened during that run:
- Events appear as a vertical timeline with animated spring-in transitions
- Each event shows its type (User Message, Tool Request, Approval Required, etc.), timestamp, and relevant details
- Tool request/response pairs are linked with a visual connector
- Approval Required events pulse amber until resolved
- For in-progress runs, the trace polls every 5 seconds and new events animate in at the bottom
This view reuses the same event types and color coding as the Run Detail page, so the visual language is consistent across the console.
Agent Status Phases
| Phase | Meaning |
|---|---|
| Pending | Agent is being created; resources are being provisioned |
| Running | Agent is live and accepting requests |
| Failed | Agent failed to start; check the status message for details |
Injected Environment Variables
Every deployed agent receives these environment variables via a ConfigMap:
| Variable | Description |
|---|---|
SYSTEM_PROMPT | Agent's system prompt |
LLM_GATEWAY_URL | LLM Gateway chat completions URL |
LLM_MODEL | Model name (e.g., gpt-4o-mini) |
LLM_PROVIDER | Provider name (e.g., openai) |
TOOL_URL_{NAME} | Base URL for each required tool |
TOOL_DEFINITIONS_JSON | OpenAI-format tool definitions (JSON) |
TOOL_ROUTES_JSON | Function name to HTTP route mapping (JSON) |
OPENAI_BASE_URL | Auto-set to LLM Gateway (for SDK compatibility) |
OPENAI_API_KEY | Auto-set to platform-managed |
For the full list including multi-model variables, see the Agent Runtime reference.
Authenticated Deployments
If your agent should only accept requests from authenticated users, register an identity provider before you deploy or before you switch the deployment to authenticated access.
Example:
Example google-oidc.yaml:
name: google-oidc
spec:
  host: portal.example.com
  identityProvider:
    issuer: https://accounts.google.com
    jwksUri: https://www.googleapis.com/oauth2/v3/certs
    audiences:
      - portal.example.com
  userIDClaim: email
  allowedDomains:
    - example.com
Once the identity provider exists, you can safely select Authenticated access in the deploy workflow and bind that provider to the agent.
What's Next
| Goal | Where to go |
|---|---|
| See code examples for each pattern | Writing Agents |
| Understand the runtime in detail | Agent Runtime |
| Register a tool for your agent | Registering Tools |
| Configure an LLM provider | Model Providers |
| Set up client authentication | Identity Providers |
| Understand the approval workflow | Approvals |